Astron Balance shaft chain adjustment
From Mitsipedia
Revision as of 02:33, 13 September 2020 by Cartman02au (talk | contribs)
Most First Generation Astron II's built before 1990 require that their balance shaft chain tension is checked and adjusted every 20,000 Km. The procedure can also be performed on newer Astron II's with self-adjusting chains, but the cause of the tension loss should be investigated beforehand.
The procedure for adjusting the balance shaft chain is:
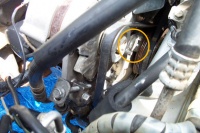
- 1. Remove the adjustment cover plate (see figure 1). This is done by removing the two bolts from either end.
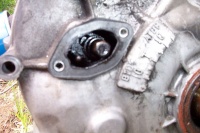
- 2. Loosen the chain guide bolt so that you can push the chain guide. Do not completely remove it, otherwise you could drop the chain guide (see figure 2).
- 3. Push the chain guide downwards using the lump just above the bolt with your fingers. Do not use a screwdriver or other implement as you will not be able to gauge the tension. Push down until it feels firm.
- 4. While holding the chain guide in place, tighten the chain guide bolt.
- 5. Clean the cover plate and the mating surface on the timing cover. Run a little RTV Sealant around the raised edge inside the coverplate.
- 6. Reinstall the coverplate

